
As an Amazon Associate we earn from qualifying purchases. This guide is informational — no product testing claims, no invented prices.
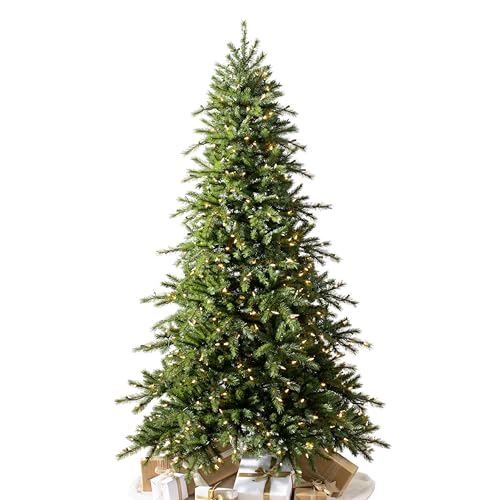
Decorating a Christmas tree is mostly about order of operations. Do things in the right sequence and even a budget tree looks professionally styled; do them out of order and you will be unpicking ornaments for an hour.
Step 1: Fluff and shape every branch
Start at the bottom and work up. Pull each branch tip outward and slightly upward, spreading the smaller side twigs left and right so no bare gaps show. This single step takes 30 to 60 minutes on a 7.5-foot tree and makes more difference than any ornament. Wear gloves — PVC needles can scratch.
Step 2: Lights first, always
String lights before anything else so the wire hides inside the branches. Use about 100 mini lights per vertical foot of tree (a 7.5-foot tree wants roughly 700 to 800). Work top to bottom, weaving in and out of the branches rather than circling the outside — pushing some lights deeper creates depth and makes the tree glow from within.
Step 3: Garland, ribbon, or beads
If you use ribbon, cut it into 2 to 3-foot lengths and tuck the ends into the branches in loose swoops rather than wrapping one endless spiral — shorter pieces are far easier to adjust. Mesh ribbon, beaded garland, and popcorn-style strands all go on before ornaments.
Step 4: Ornaments largest to smallest
Hang your largest, heaviest ornaments first, placing them deeper inside the tree near the trunk where branches are strongest. This fills visual holes. Then add medium ornaments evenly around, and finish with small, delicate pieces on the outer branch tips. Step back every few minutes — ornaments cluster more than you think.
Step 5: Topper last
Common mistakes to avoid
- Hanging ornaments before lights — you will knock them off while stringing.
- Using only one ornament size — mixing large, medium, and small creates a designer look.
- Forgetting the back — rotate the tree or decorate all sides if it floats in the room.
- Skipping the tree skirt or collar — it hides the stand and finishes the base.
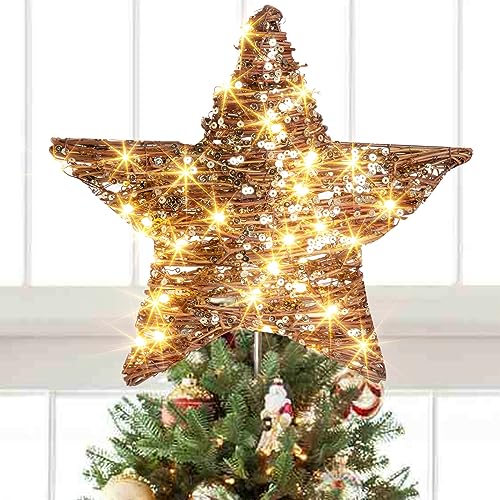
Put the topper on last so you are not reaching over finished work. A star, angel, bow, or oversized ornament all work — just check it is proportionate to the tree height.
What you’ll need to decorate
The basics most decorating jobs call for — ornaments, lights, a topper, and something to cover the stand:

Pros
- Shatterproof acrylic construction
- Pre-attached ribbons for immediate hanging
- Lightweight design avoids sagging branches
- Eight distinct holiday styles included
- Reflective clear finish catches tree lighting
Cons
- Small 20-piece count requires multiple sets for large trees
- Plastic acrylic material rather than genuine glass

Pros
- Quick top-ring design simplifies tree lighting setup
- Eight dynamic modes with automatic memory retention
- Multiple timer settings and four dimming brightness levels
- Generous 16.4-foot lead wire enables flexible placement
- IP44 water-resistant strands withstand damp outdoor conditions
Cons
- Power adapter must be protected from moisture outdoors
- Remote requires line of sight toward the power plug
Pros
- Warm white 40-LED fairy lighting
- Natural hand-woven brown rattan construction
- Cone base with velcro for stable attachment
- Long 118-inch lead cord
- Lightweight design under one pound

Pros
- Generous 48-inch diameter fits many standard tree sizes
- Classic dark red striped pattern with scalloped trim
- Made from soft cotton fabric
- Simple tie-string closure keeps the skirt secure